Liquid Crystal Titan
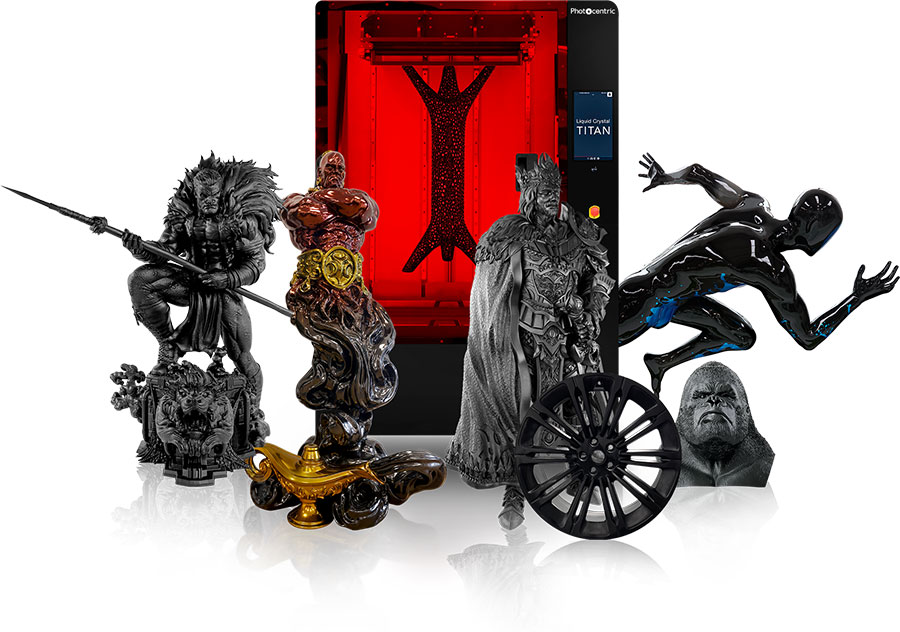
The largest LCD 3D printer
in the world
A complete manufacturing solution
See how Titan can transform your business by requesting a free Total Cost of Ownership for your part, unlike most companies this is comprehensive with full disclosure
Printer
Specifications
Extremely large print volume
695 x 385 x 1200mm
27.3 x 15.2 x 47.2″
High resolution pixel pitch
91μm pixel pitch delivering outstanding surface finish
≤ 86mm/hr print speed
At 350μm layers volumetric speed = 24 ltr/hr
Interchangeable platform with ResinGlide coating
Easy cleaning with less waste
Patented Blow-Peel technology
Ensures reliable, fast printing
Remote control and monitoring
4k time-lapse cameras
Automatic resin control
Auto vat fill and empty functions
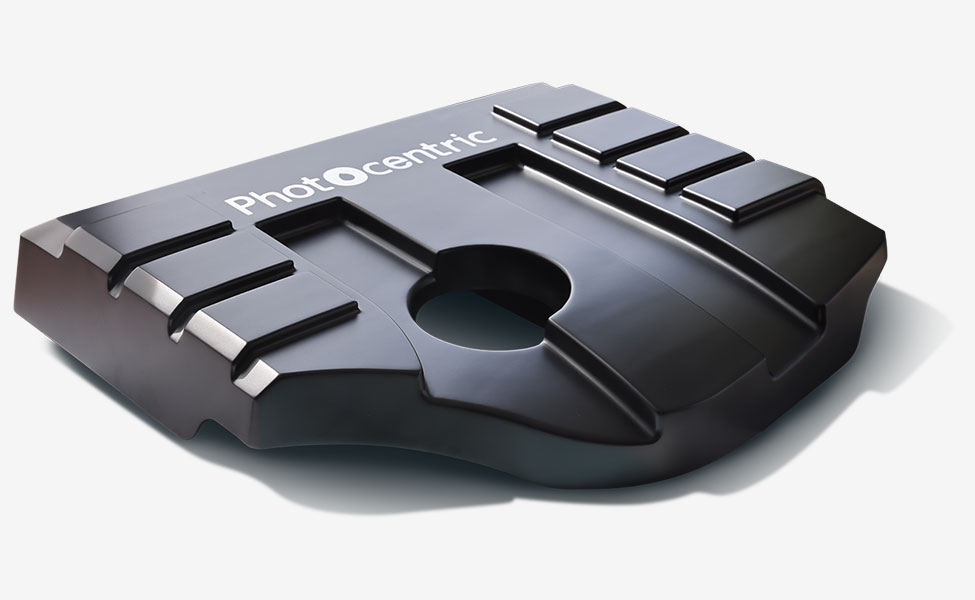
Printing large complex automotive panels for Magna International
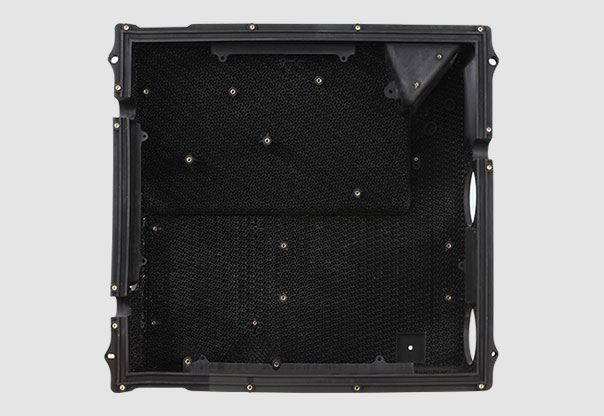
Magna International needed 10 large containers to hold electrical components for test vehicles. 3D printing was the only option, but large format laser SLA was too expensive, too slow and the parts wouldn’t be functional in use. This is the story of some of the largest parts to be printed free radically, accurate in the z axis at +/- 0.065% average, printed on Liquid Crystal Titan.
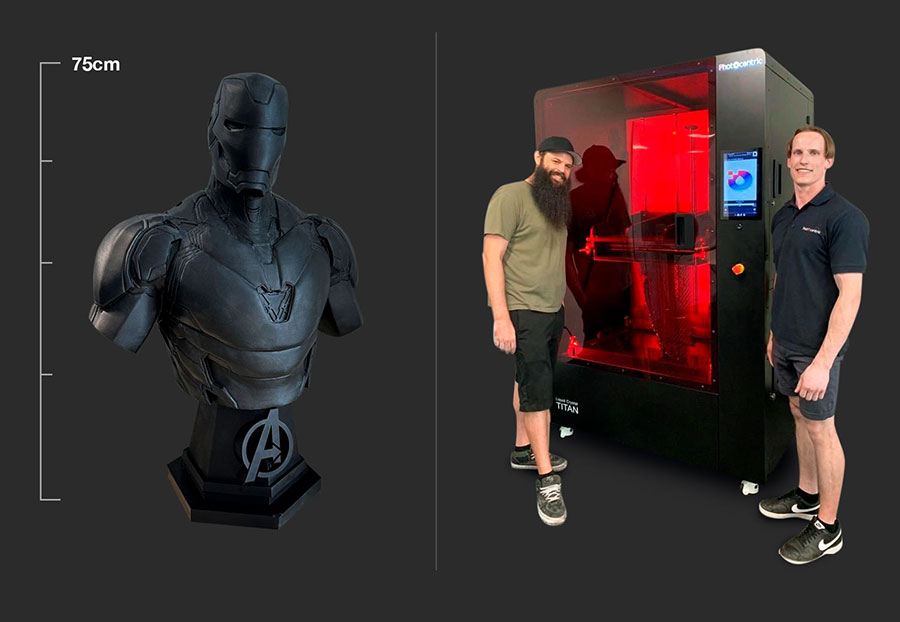
Iron man bust 1:1 scale printed by Blue Hippo in one piece
“We definitely love our Photocentric printers, and the Titan is a game changer”
Brad Wriedt, Blue Hippo
Complete Printing Ecosystem
Software
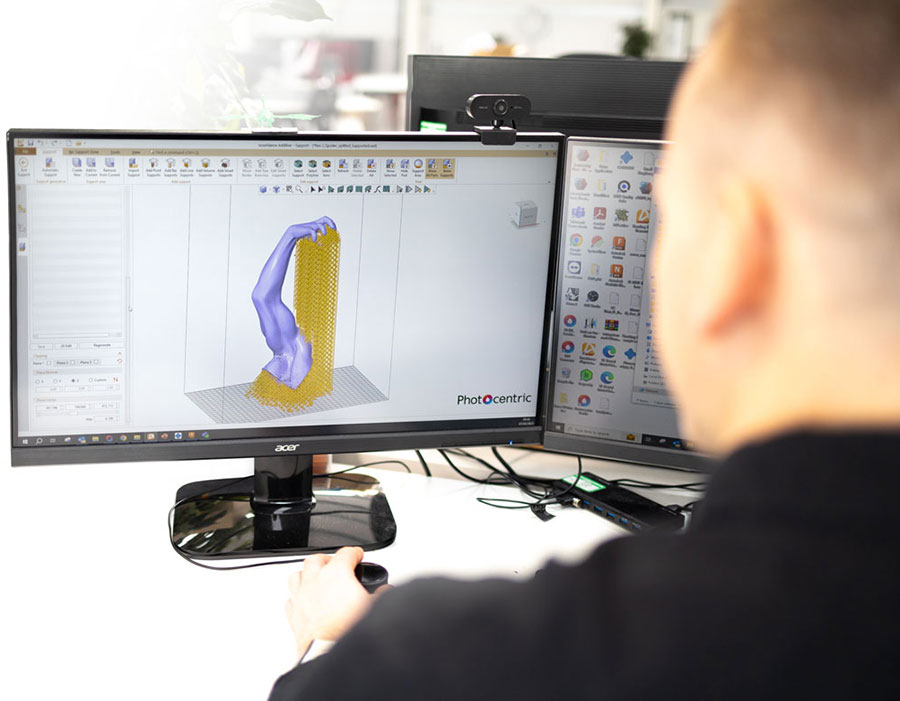
Prepare files using Photocentric Studio or VoxelDance Additive; both perpetual licences are included at no cost
VoxelDance provides incredible flexibility, easily managing large files (>1GB) while also offering automatic supports
Upload file remotely through web UI or USB
Preloaded Titan print profiles
Printer
Intuitive & user friendly
Reliable process with peel release technology
Automated resin control
Remote inspection
Remote control
Interactive GUI
Factory calibrated platform
Accessories for finishing printed parts and maintaining system
Handler
Open print door, insert purpose-built platform handler
Remove platform with part
Transfer between print, wash, cure and finishing station
Wash XL
All in one, wash, rinse and dry processing unit
Manually direct sprays of resin cleaner to all parts while platform is rotated with auto or manual control
Separate water rinse system
Air gun to dry parts
Cure XL
Load into cure unit
Full cure with dual wavelength 365 & 405nm and heat
360°rotating platform
360°rotating lower glass turntable for off-platform parts
Remove platform and remove parts
Services offered
DFAM
- Design for Additive Manufacturing consultancy
- Evaluate your part and assess its suitability for printing
- Propose design changes to reduce cost and improve printability
TCO
- Total Cost of Ownership (TCO) on your part, just supply your stl and the quantity
- Complete cost of manufacture, from part design to disposal of waste with payback
Service Plans
- 3 comprehensive service plans, Standard, Premium and Elite
- Including installation, training and maintenance
- Providing all options from budget support through to concierge service
Training
- Email and telephone support
- Online software support training in how to design for additive manufacturing
- Training in optimising the printing process
Carbon Footprint
- Carbon Footprint Analysis offered with all resins
- Embedded Carbon Calculator of each part taking your intake feeds
Tailored made wash and cure units
Photocentric Wash XL
Three in one. Wash, rinse and dry
Photocentric Wash XL is purpose-built to effectively clean large complex parts printed on Liquid Crystal Titan, combining wash, rinse and dry functions in a single compact unit.
360° platform rotation
Adjustable speed to access all surfaces
Environmentally Friendly
Recycling option for used
Photocentric Resin Cleaner 30
Smart fluid management
For water and resin cleaner flow
Multi-directional adjustable nozzles
Efficient spray cleaning of complex large parts
Push fit easy
clip platform
Easy transfer between printer, wash and cure units
Internal light, inspection window and wipers
Interactive user interface and ergonomic design
Photocentric Cure XL
Cure large parts with heat and dual wavelength light
Photocentric Cure XL is designed to cure parts printed on Liquid Crystal Titan. Cure XL provides uniform post-curing with dual wavelength light and evenly distributed heat with 360° platform rotation, resulting in dimensionally accurate tack-free parts.
Dual wavelengths
365 & 405nm
Optimised evenly distributed dual wavelength light
Heating function up to 60°C (140°F)
Evenly distributed with smart fume extraction and inspection window
Adjustable speed 360° platform rotation
Curing on-platform parts evenly
Interactive user
interface
Optimised part-dependent curing process
360° rotating lower
glass turntable
Cure off-platform parts evenly
Push fit easy clip
platform
Easy transfer between printer, wash and cure units
Tailored made wash and cure units
Photocentric Wash XL
Three in one. Wash, rinse and dry
Photocentric Wash XL is purpose-built to effectively clean large complex parts printed on Liquid Crystal Titan, combining wash, rinse and dry functions in a single compact unit
360° platform rotation
Adjustable speed to access all surfaces
Environmentally Friendly
Recycling option for used Photocentric Resin Cleaner 30
Smart fluid management
For water and resin cleaner flow
Multi-directional adjustable nozzles
Efficient spray cleaning of complex large parts
Push fit easy clip platform
Easy transfer between printer, wash and cure units
Internal light, inspection window and wipers
Interactive user interface and ergonomic design
Photocentric Cure XL
Cure large parts with heat and dual wavelength light
Photocentric Cure XL is designed to cure parts printed on Liquid Crystal Titan. Cure XL provides uniform post-curing with dual wavelength light and evenly distributed heat with 360° platform rotation, resulting in dimensionally accurate tack-free parts.
Dual wavelengths
365 & 405nm
Optimised evenly distributed dual wavelength light
Heating function up to 60°C (140°F)
Evenly distributed with smart fume extraction and inspection window
360° rotating lower glass turntable
Cure off-platform parts evenly
Adjustable speed 360° platform rotation
Curing on-platform parts evenly
Push fit easy clip platform
Easy transfer between printer, wash and cure units
Interactive user interface
Optimised part-dependent curing process
Titan advantages
Titan creates the largest, highest resolution parts, most rapidly and cost effectively
Wide range of resins; tough, hard, investment casting and elastomeric
Creates massive stunning parts
Part making support and Titan Service
We pride ourselves on our customer service and guarantee you print successfully. We have the most experience of printing with LCD screens of any company. All Titan customers can access this knowledge. We will orientate and support your part for you using the latest Voxel Dance software and give you advice on how to make your part most efficiently.
Printer comparison
Why buy Titan?
LCD is now accepted as the superior technology for resin printing, even entrenched DLP and laser manufacturers have now been won over. A major benefit of using screens is that they cure over the entire area simultaneously, which increases as you get larger in format.
Bottom-up printing requires minimal resin to operate, simplifies processing and there is no risk of the tank going off. Free radical polymerisation gives you the widest range of functional materials, including elastomers.
Titan is an open system with a wide variety of Photocentric and BASF validated resins.
IP secure, operates without internet connection.
Complete processing system with Carbon analysis, TCO, full software and maintenance.
UK manufactured with dedicated highly experienced service department ensuring success.
Costing print examples
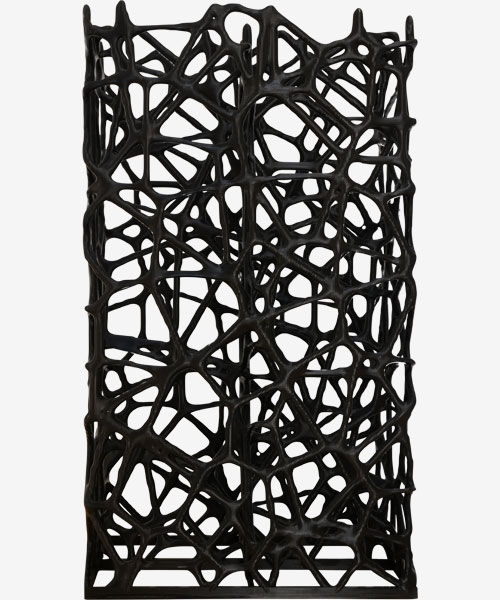
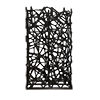
Lattice
Print time: 48 hrs | Dimensions: 120 x 70 x 40 cm
Brain
Print time: 24 hrs | Dimensions 30 x 20 x 20 cm
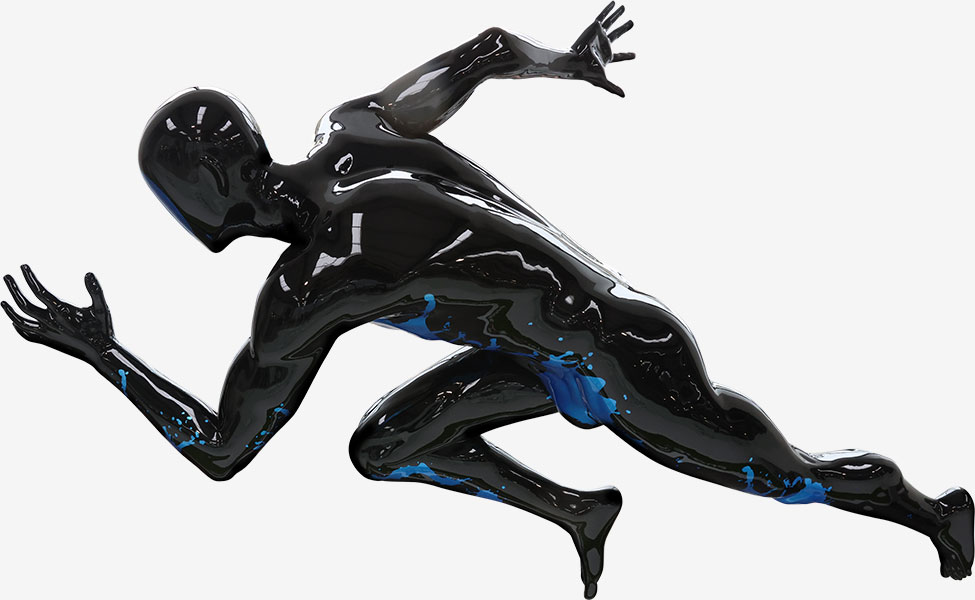
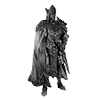
Running Man
Print time: 60 hrs | Dimensions: 170 x 220 x 50 cm
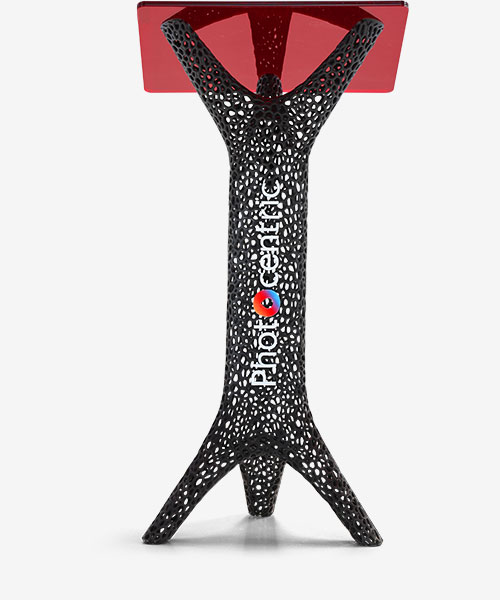
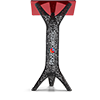
Lectern
Print time: 60 hrs | Dimensions: 155 x 50 x 40 cm
Engine Cover
Print time: 32 hrs | Dimensions 60 x 60 x 10 cm
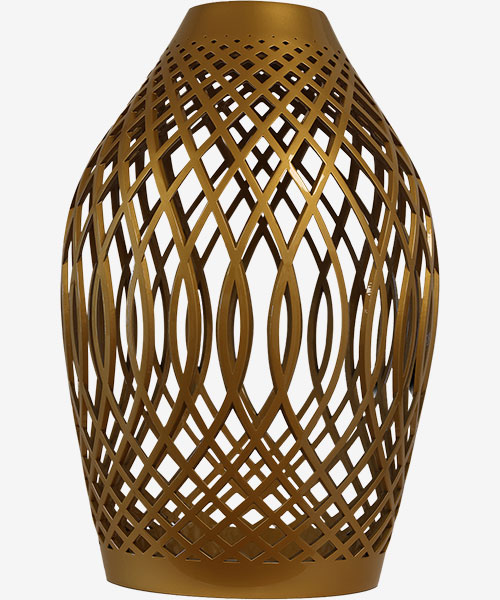
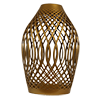
Lampshade
Print time: 29 hrs | Dimensions 60 x 40 x 40 cm
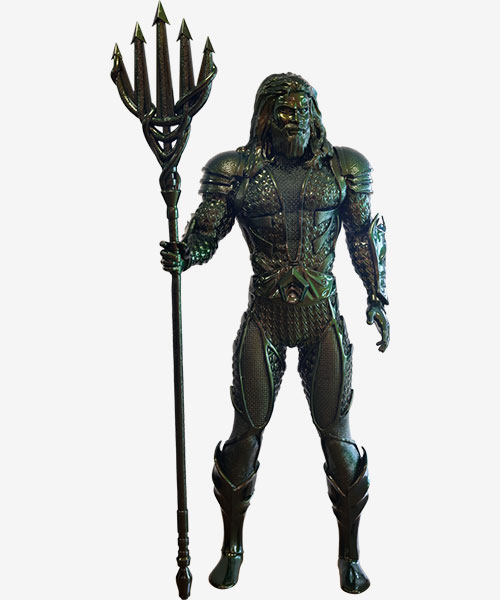
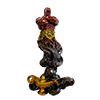
Neptune
Print time: 130 hrs | Dimensions: 220 x 110 x 70 cm
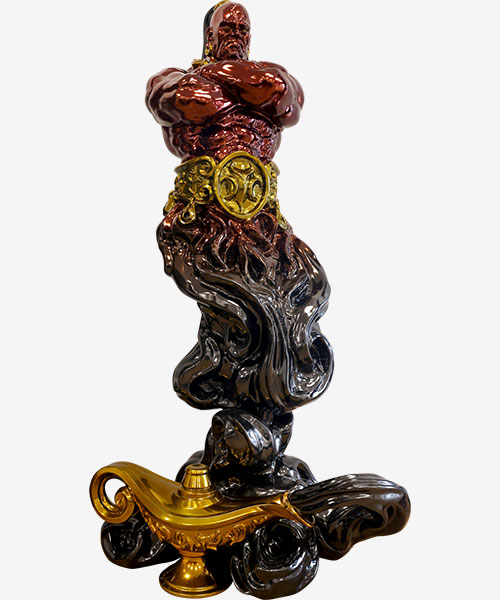
Genie
Print time: 65 hrs | Dimensions: 160 x 90 x 90 cm
Cures entire build area simultaneously
Order of magnitude more curing ability than lasers.
Cures the entire platform not single pixels, individual control of over 33 million pixels. At 100 μm over 300 quadrillion addressable voxels
Energy efficient 3D printing
Lowest CO2 plastic printing process
We can supply a Carbon Footprint for your part
Printer Specifications
Daylight Technology
Light output wavelength 460nm
Build volume
695 x 385 x 1200mm
27.3(w) x 15.2(d) x 47.2(h)″
Layer thickness
50-350µm
Pixel pitch
91μm | 3.6 thou
LCD screen
32″ 8K 7680 x 4320 px
Print speed
86mm | 3.4″ per hour at 350µm
13″ touchscreen
Integrated control system
Software
Photocentric Studio & Voxel Dance Additive included
Materials
Daylight, BASF Ultracur3D®
Resin autofill system
Power Input
32A 230v Single Phase
Printer dimensions
1544(w) x 926(d) x 2137(h) mm
60.8(w) x 36.5(d) x84.1(h)”
Connectivity
Wi-Fi, Ethernet, USB 3.0
Wash XL Specifications
External Dimensions
170 x 130 x 225cm (WxDxH)
66.9 x 52.2 x 88.8″
Active Volume Dimensions
90 x 90 x 135cm (WxDxH)
35.4 x 35.4 x 53.1″
Weight
500kg
1100lbs
Resin Compatibility
Daylight & UV Resins
Wash Solution Compatiblity
Photocentric Resin Cleaners
Maximum Part Weight
35kg
77lbs
Cleaning Method
Manual Spray
Power Input
32A Single Phase 230V
Recommended Operating Temp
10°C to 40°C
500°F to 1040°F
Accessories included
Water pipes, air pipes and connectors; 2 custom IBC caps with level sensor, power cable
Warranty 12 months
Compressed air requirement – Minimum 6 bar (87psi)
Cure XL Specifications
External Dimensions
170 x 170 x 225cm (WxDxH)
66.9 x 66.9 x 88.8″
Active Volume Dimensions
90 x 90 x 135cm (WxDxH)
35.4 x 35.4 x 53.1″
Weight
800kg
1760lbs
Resin Compatibility
Daylight & UV Resins
LED
Dual Wavelengths 365 & 405nm
Maximum Part Weight
35kg
77lbs
Power Input
32A Three Phase (415V)
Maximum Temperature
Adjustable up to 60°C (140°F)
Accessories included
Power cable
Warranty 12 months
Rotating circular glass table 900mm diameter
Neptune
Print Details:
Print time: 130 hrs (3 prints)
Resolution: 250µm
Resin: Titan Black 21.5kg
Height: 215cm
Width: 105cm
Depth: 70cm
Cost Breakdown
Optional maintenance is available
Neptune designed by www.sanix3d.com
Lattice
Print Details:
Print time: 60 hrs
Resolution: 250µm
Resin used: Titan Hard Black 2.6kg
Height: 155cm
Width: 50cm
Depth: 40cm
Cost Breakdown
Optional maintenance is available
Lectern
Print Details:
Print time: 48 hrs
Resolution: 250µm
Resin used: Titan Hard Black 22kg
Height: 120cm
Width: 70cm
Depth: 40cm
Cost Breakdown
Optional maintenance is available
Brain
Print Details:
Print time: 24 hrs
Resolution: 250µm
Resin used: 2.1kg
Height: 30cm
Width: 20cm
Depth: 20cm
Cost Breakdown
Optional maintenance is available
Engine Cover
Print Details:
Print time: 32 hrs
Resolution: 250µm
Resin used: Titan Hard Black 2.6kg
Height: 60cm
Width: 60cm
Depth: 10cm
Cost Breakdown
Optional maintenance is available
Running Man
Print Details:
Print time: 60 hrs
Resolution: 250µm
Resin used: Titan Hard Black 2.9kg
Height: 170cm
Width: 220cm
Depth: 50cm
Cost Breakdown
Optional maintenance is available
Lampshade
Print Details:
Print time: 29 hrs
Resolution: 250µm
Resin used: Titan Hard Black 2.3kg
Height: 60cm
Width: 40cm
Depth: 40cm
Cost Breakdown
Optional maintenance is available
Genie
Print Details:
Print time: 65 hrs
Resolution: 250µm
Resin used: Titan Hard Black 22kg
Height: 160cm
Width: 90cm
Depth: 90cm
Cost Breakdown
Optional maintenance is available
Liquid Crystal Titan
What’s Included
Step 1 – Designing for Additive
Although the design supplied by Magna International had taken into account guidelines for AM, design optimization was still needed. The original design would have warped in production but Photocentric was given design freedom on the non-facing surfaces given that we met the external dimensions and were within tolerance on a total of 18 critical measurements. A gyroid infill was added with a 1.2mm by 12mm structure. A design correction for shrinkage of 0.5% in x:y and 0.1% in z was applied to achieve tolerance.
Step 2 – Supporting to achieve part tolerance
The part was orientated at an angle of 60 degrees to negate any sudden changes in force while printing. The support network was generated from the auto support function on Voxel Dance software for Photocentric. Support density was reduced to the minimum necessary to reduce support resin and work in sanding artefacts. Support tips were optimized at 0.6mm to deliver compromise between meeting the minimum level of physical restraint for the part and ease of support removal.
Cut out shapes will distort as the forces change when the open panel is reached. For dimensional accuracy in cut out shapes, you can insert supports or, easier is to insert thin 3mm blanking plates with a few attachment points.
Step 3 – Printing
The material property requirement for the enclosure was met by BASF EPD2006 resin.
The supported file was loaded onto a Liquid Crystal Titan.
The file was printed in 100my layers, taking 68 hours (7223 layers). The part weighed 4591g with 2062g of supports.
Step 4 – Wash process
By the end of the print, the platform had dripped free from excess resin, returning it to the tank. The platform was transferred via the Photocentric platform transfer to the Photocentric Wash XL unit. The door was locked, and the wash pump engaged, and the platform set to continuous rotation. The operator used the wash wand to spray a recirculating solution of Photocentric Resin Cleaner 30 into all areas of the part. Full cleaning took 15 minutes. At the end of the wash cycle, the sump of cleaning fluid was drained back to the IBC of wash fluid and the pump was switched to rinse. The part was rinsed with water to remove all remaining cleaning fluid for 5 mins. As remaining water can leave white marks on the parts, the air wand was applied for a couple of minutes.
Step 5 – Cure process
The platform transfer was then used to move the platform to the Photocentric Cure XL. The platform was rotated continuously to ensure even cure. It was fully post-processed with a combination of dual wavelength (405nm and 460nm) high intensity light and 60°C heat for a total of 5 hours.
Step 6 – Support removal
The fine Voxel Dance support tips were easily ripped off the part leaving minor raised artefacts which were then sanded. Total support removal time was 15 mins.
Step 7 – Adding inserts
We chose to sand the part further for approx. 120 mins, using an orbital sander, in order to get the best surface finish. The required inserts were hammered into the recesses. It was spray painted, with a primer and black coat.
Step 8 – Iterative learning
If you have made a similar type of part before, you will know how accurate the part is to CAD. If you are printing a new complex geometry, there may be variances from tolerance or defects, these are measured and then iteratively improved.